
Before you start
Complete division setup. Open your account on the BARS website, select Manage Division, then open the approved airport’s editor through gear icon.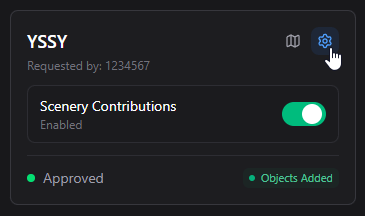
Draw a lighting object
1
Create new object
Create a new object through the + Add New Object button, click the map to place vertices along the lighting row. Add at least two vertices. Finish with Ctrl + left-click on the map or by clicking a vertex. Press Escape to cancel drawing.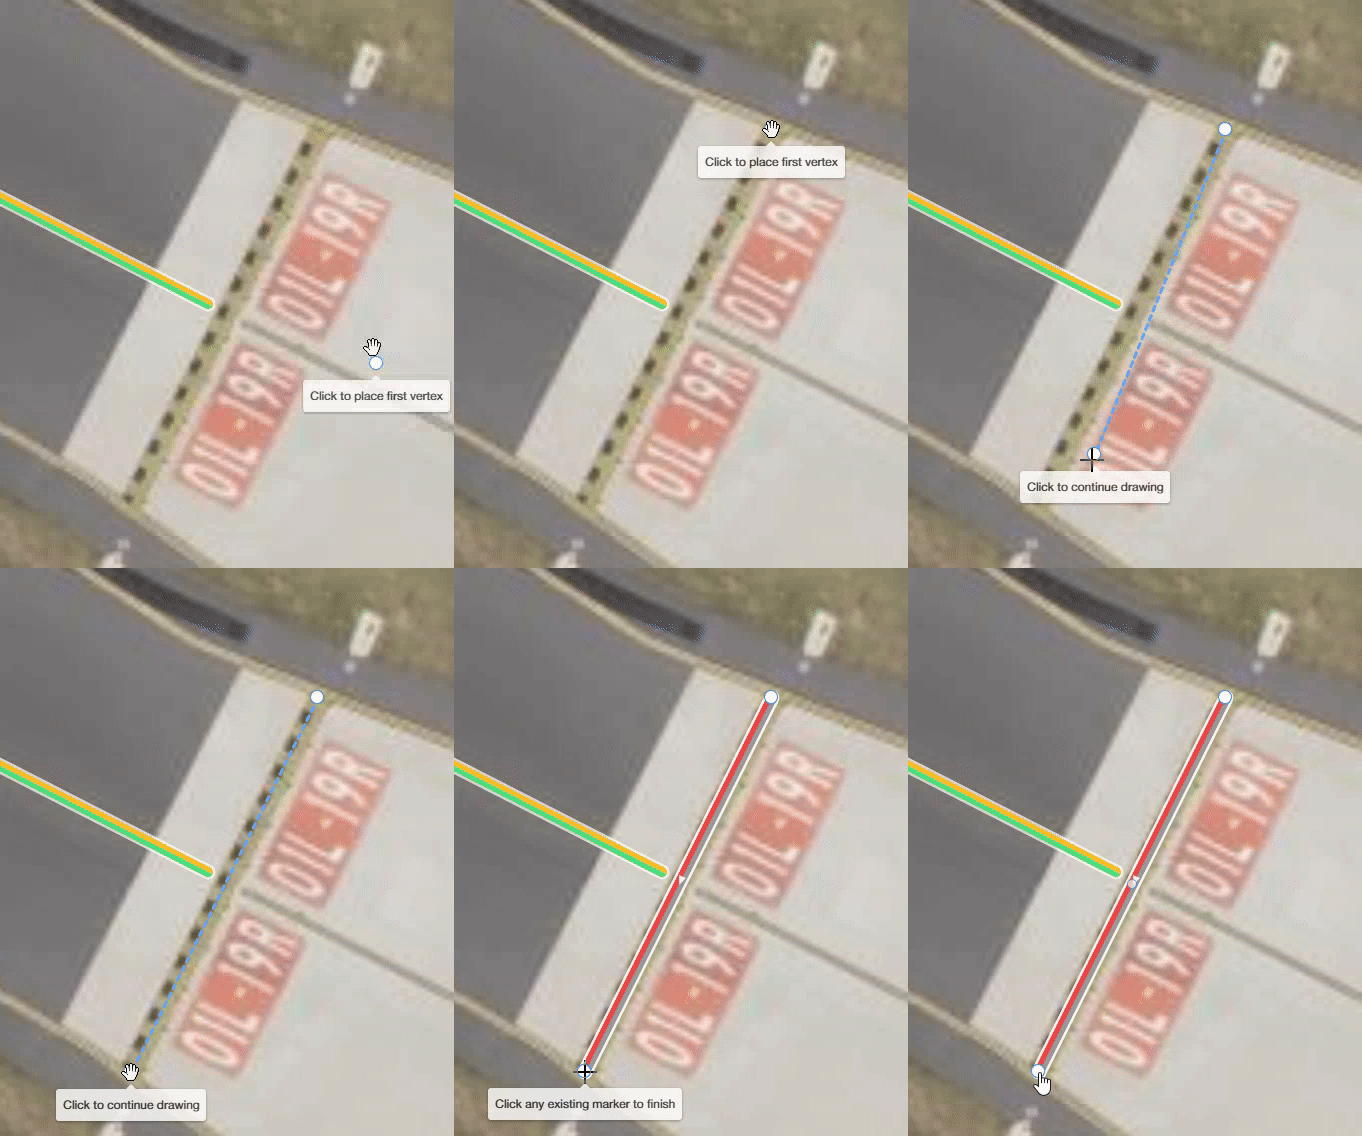
2
Set its properties
Choose the object type and enter its name. Set the directionality, colour, properties, etc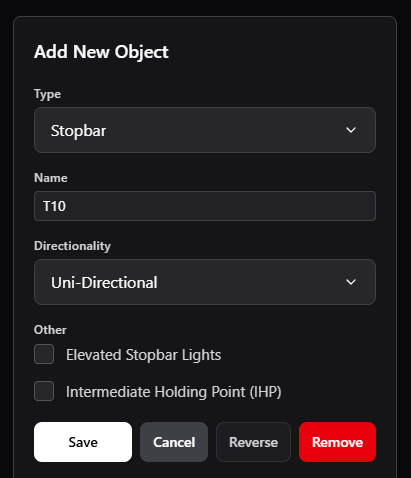
3
Check its position and orientation
Adjust the vertices to follow the positions of the lights. For unidirectional lights, inspect the displayed direction and use Reverse button to change the lights direction.
4
Save the object to your pending changes
Select Save, repeat for the other lighting objects you need to add or change.
Enter coordinates when imagery is outdated
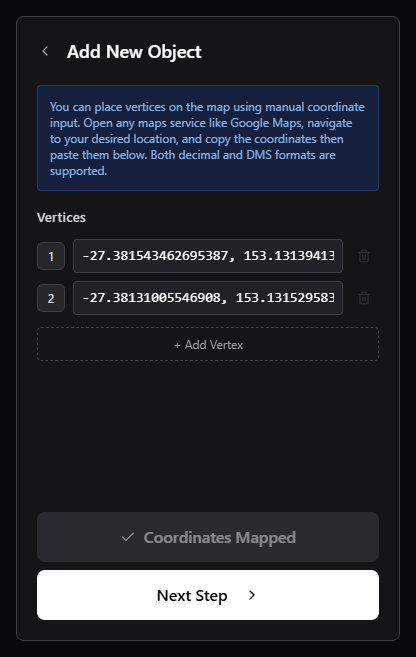
You can place lighting at known coordinates even when the background map does not show recent changes at the airport.- Start a new object and select Vertices by Coordinates.
- Enter each vertex in order, using latitude followed by longitude. Decimal coordinates such as
-27.3815, 153.1314and degrees, minutes, and seconds are supported. This example only illustrates the format. - Use Add Vertex for additional points and provide at least two valid coordinates within the airport boundary.
- Select Map Coordinates, check the shape on the map, then select Next Step to complete the object’s properties.
- Save it to the pending changes, then review and upload when ready.
Overlay an airport chart
The Image Overlay panel lets you place a chart image over the map. Use a PNG, JPEG, WebP, or GIF image. Export a PDF chart page to an image before uploading it here.1
Upload the image
Select Upload in Image Overlay and choose your chart image.
2
Position the chart
Move, resize, and rotate it to match the airport. Lower Opacity so you can compare the chart with the map underneath.
3
Align matching landmarks
For Auto Align, select Start. Click a recognisable point on the overlay, then the same location on the basemap. Repeat with at least one more landmark pair, then select Apply Alignment.Choose landmarks whose positions have not changed. Check the alignment across the area you intend to edit.
4
Lock the overlay and add lighting
Lock the overlay position to avoid moving it while working. Draw or adjust the lighting objects using the chart as a reference.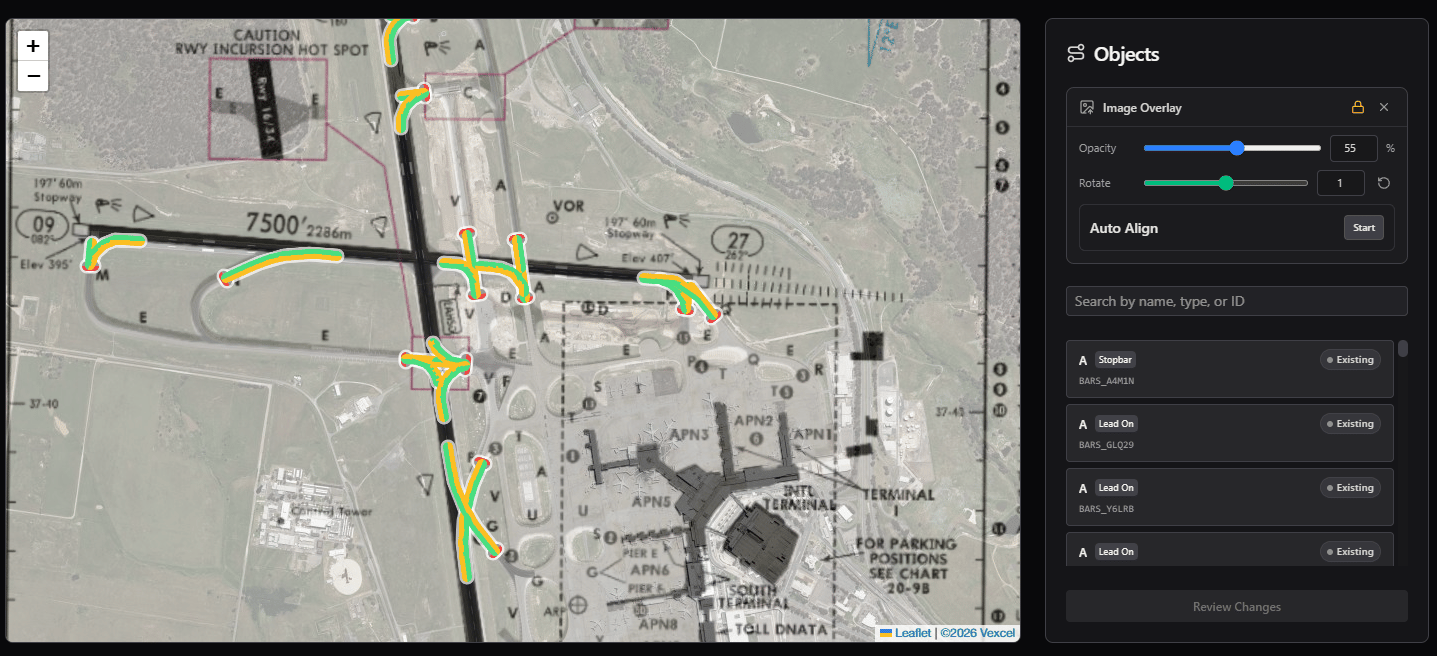
Review and upload changes
Select Review Changes to inspect additions, modifications, and deletions. Check each changed object, including its name, type, shape, and directionality. Select Save & Upload when the changes are ready. Wait for the Changes Saved confirmation and check the refreshed objects. New objects now have their BARS IDs. If the upload fails, read the error and resolve it before leaving the page. Do not assume that a failed upload or an object-level save has applied your changes to BARS.Link lead-on lights to stopbars
Upload the stopbar and lead-on objects before linking them.- Select an existing stopbar.
- In Lead-on links, select Click Lead-ons.
- Click the lead-on objects on the map to select or deselect their links to this stopbar.
- Select Save in the Lead-on links section and wait for Lead-on Links Saved.