
Finish Editor Setup
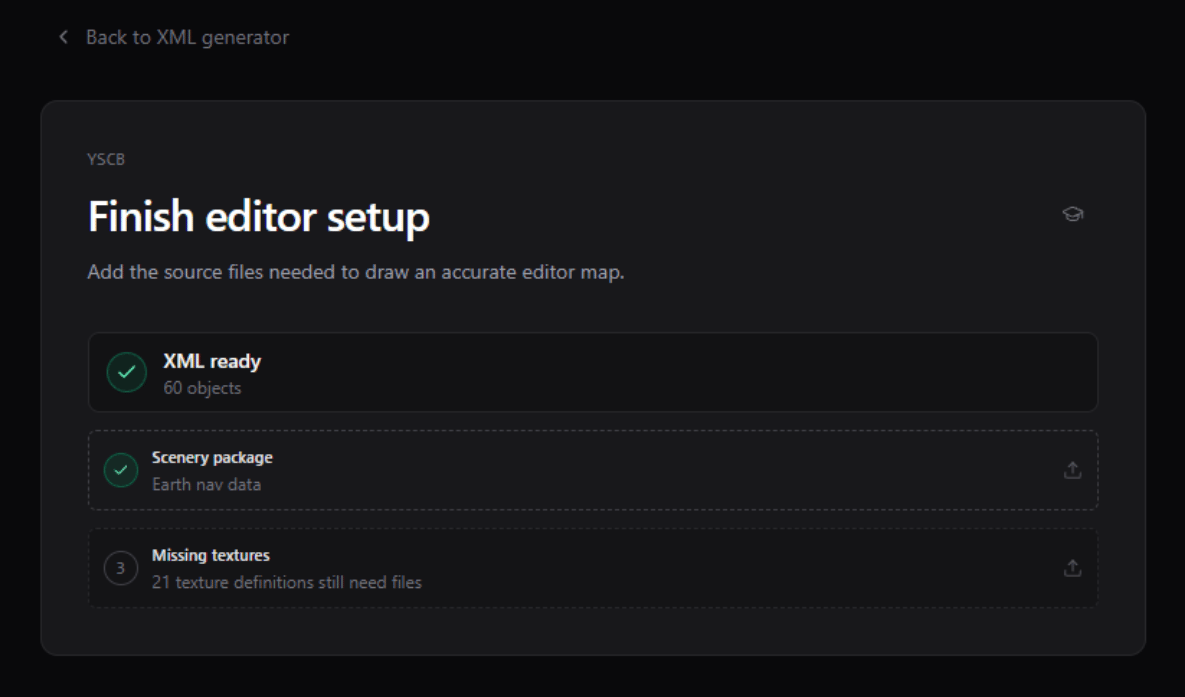
The editor may ask you to select the scenery package again or reopen the draft.- MSFS
- X-Plane
Reconnect the same airport scenery package when prompted so the editor can display it again.The editor warns you if the selected scenery differs from the package used to create the draft. Recheck every object and removal before continuing.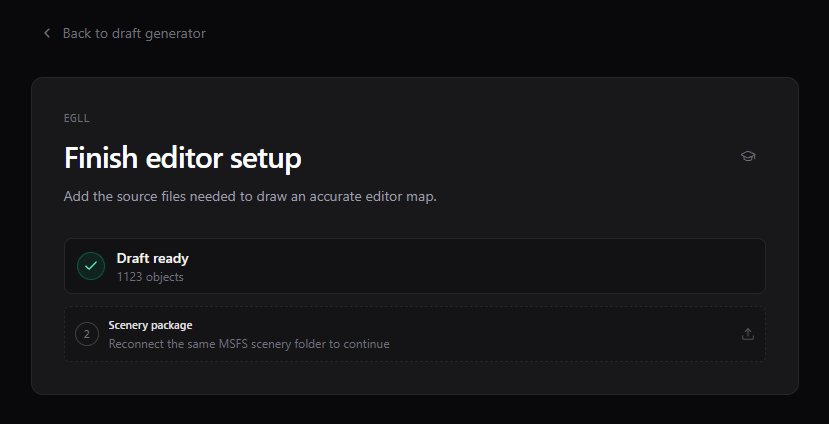
Understand the Workspace
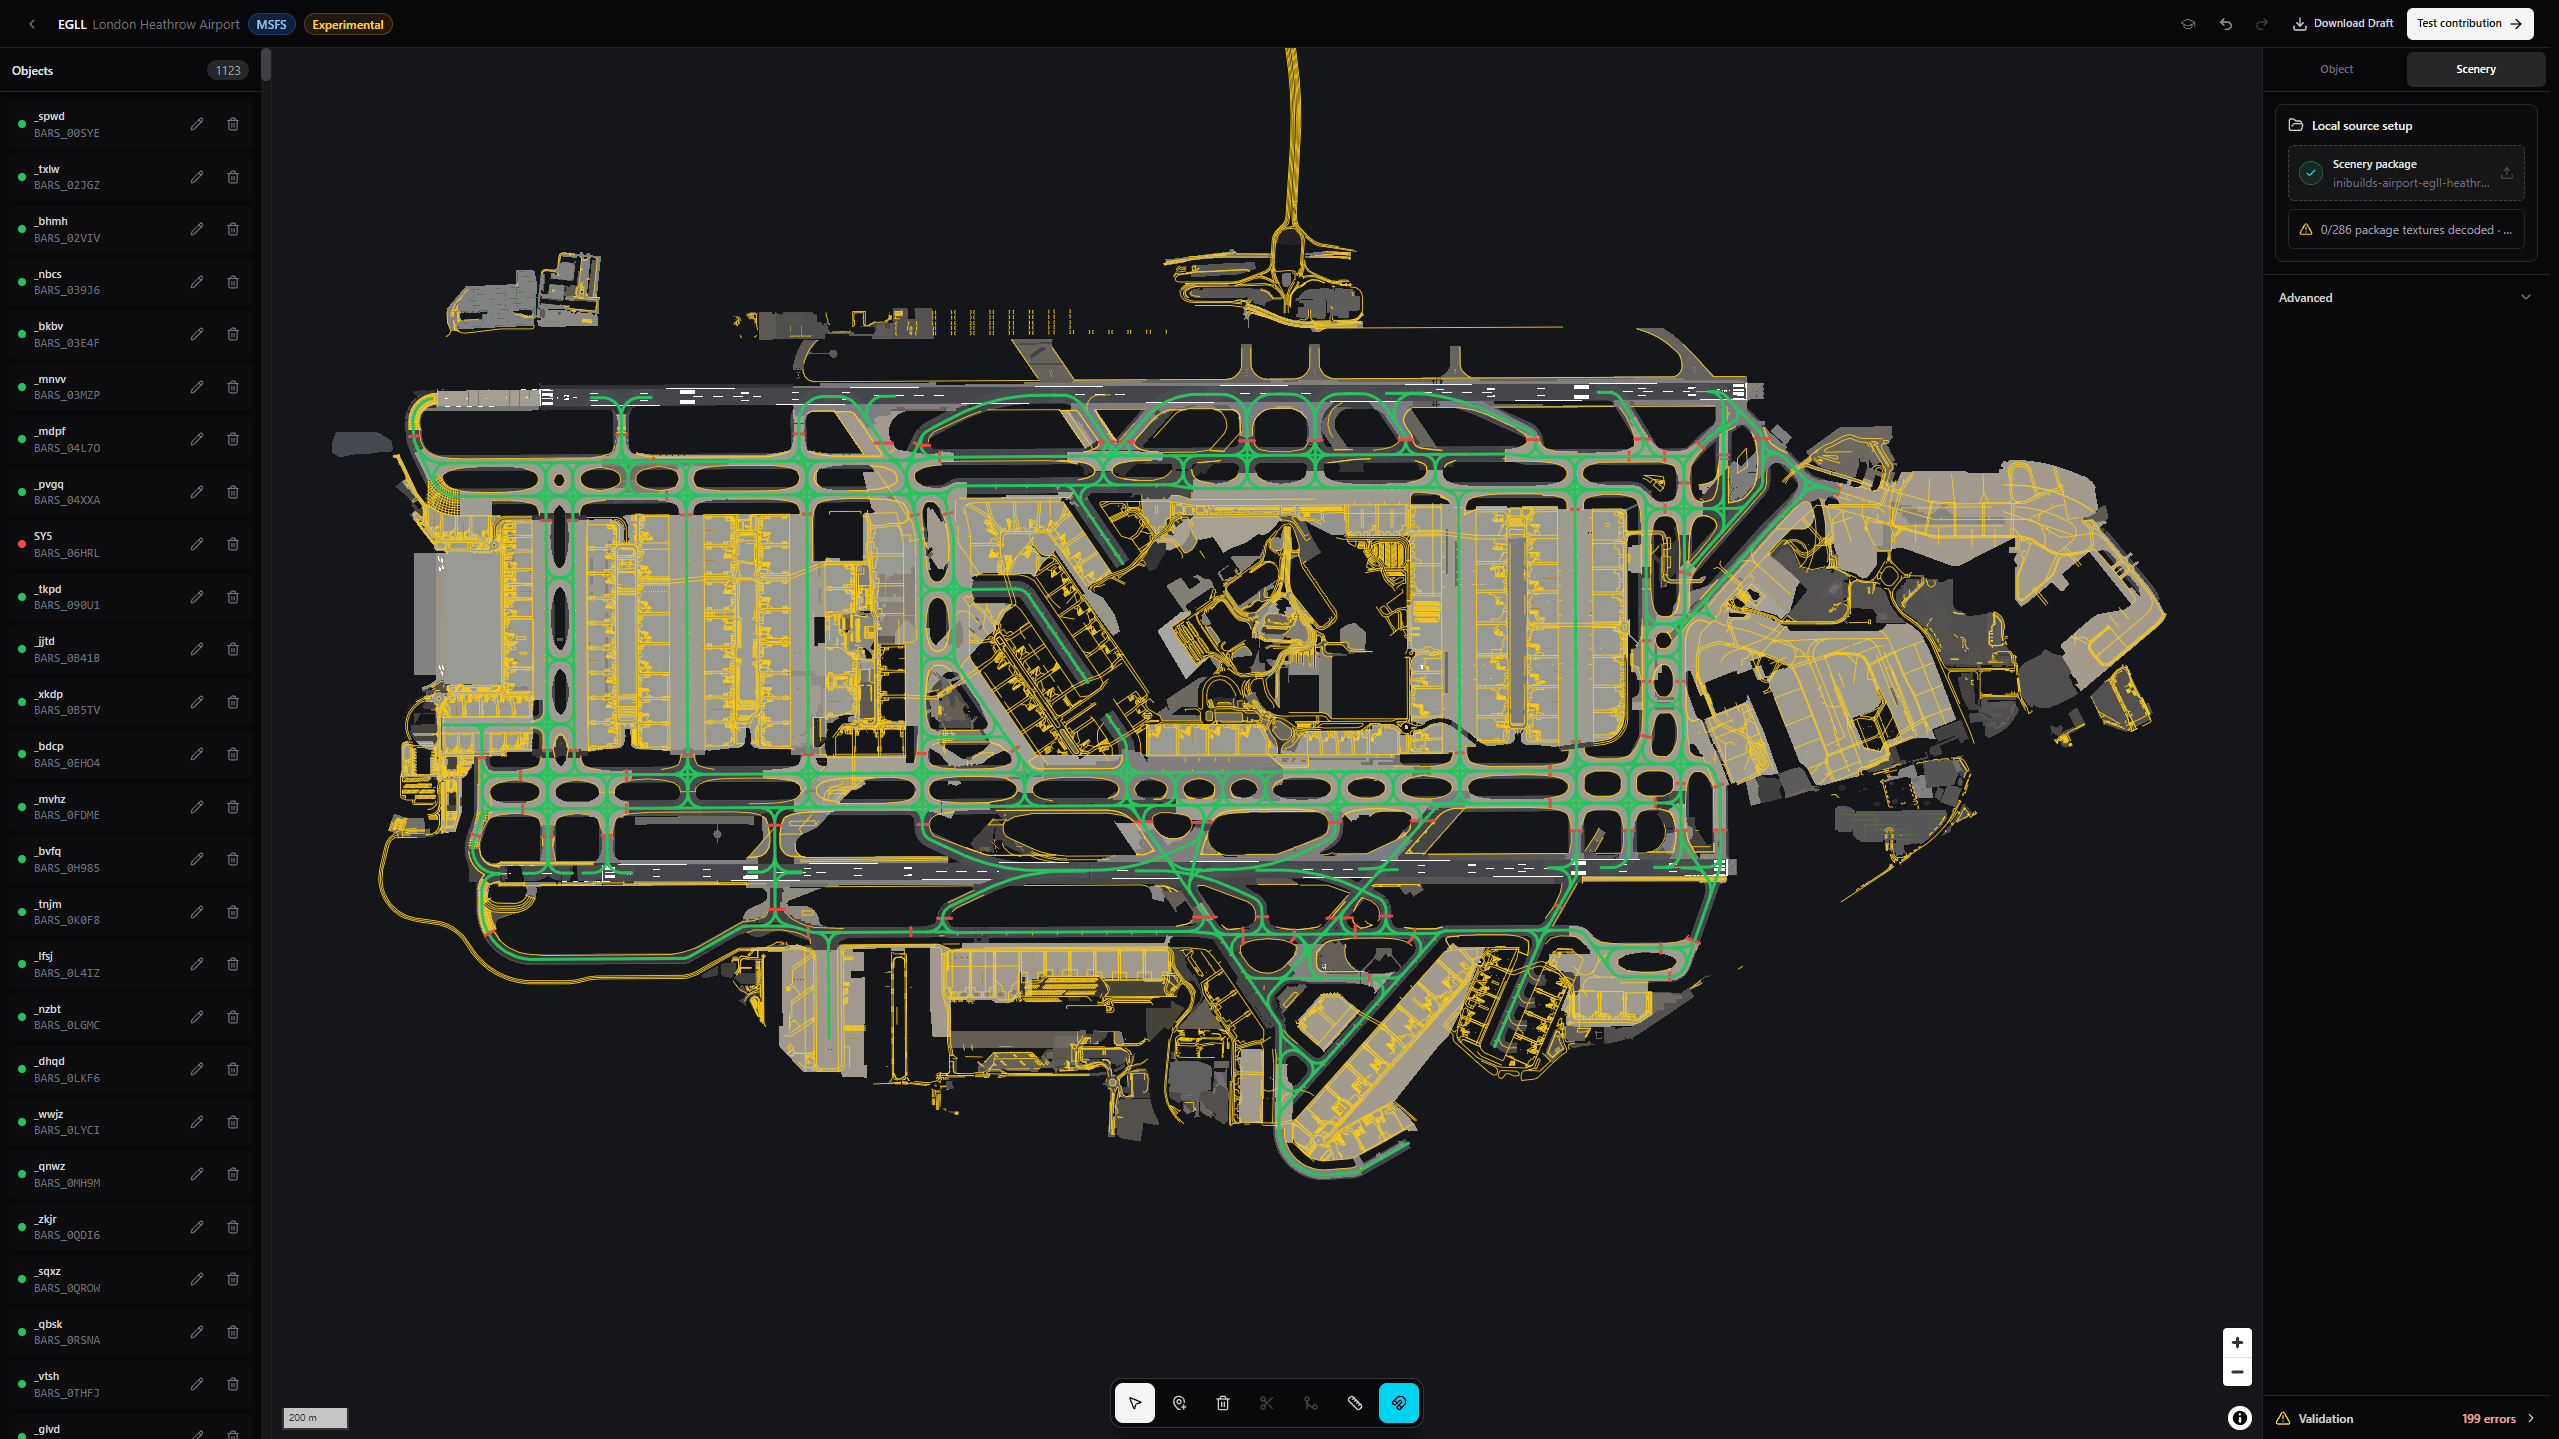
Top Bar Controls
The editor saves your progress in the current browser. Download a copy before switching browsers, clearing site data, or moving to another computer.
Work with the Object List
Select an object name to focus it on the map and open its details. The list also shows:- A color marker for the object.
- Its BARS ID, or BARS ID required when one is missing.
- A part count when one BARS object uses multiple line sections.
- A warning icon when validation found a problem.
Multiple line parts can share one BARS ID. They still represent one BARS object.
Map Tools
Press
Escape to return to Edit, cancel an unfinished removal or measurement, and clear the current selection.
Add or Correct an Object
1
Show useful reference layers
Keep the source layer you want to follow visible. Lights, Markings, and Pavement are common alignment references.
2
Edit or draw the line
Move the selected object’s points, or use Add object to draw a missing line. Leave snapping on when the visible source is accurate.
3
Confirm the BARS ID
Use the BARS ID field in the Object panel. The suggestion list shows available division objects and supports arrow-key selection.
4
Check direction
Select Reverse direction if the line runs opposite to the intended object direction.
5
Read validation
Correct any issue attached to the object before moving on.
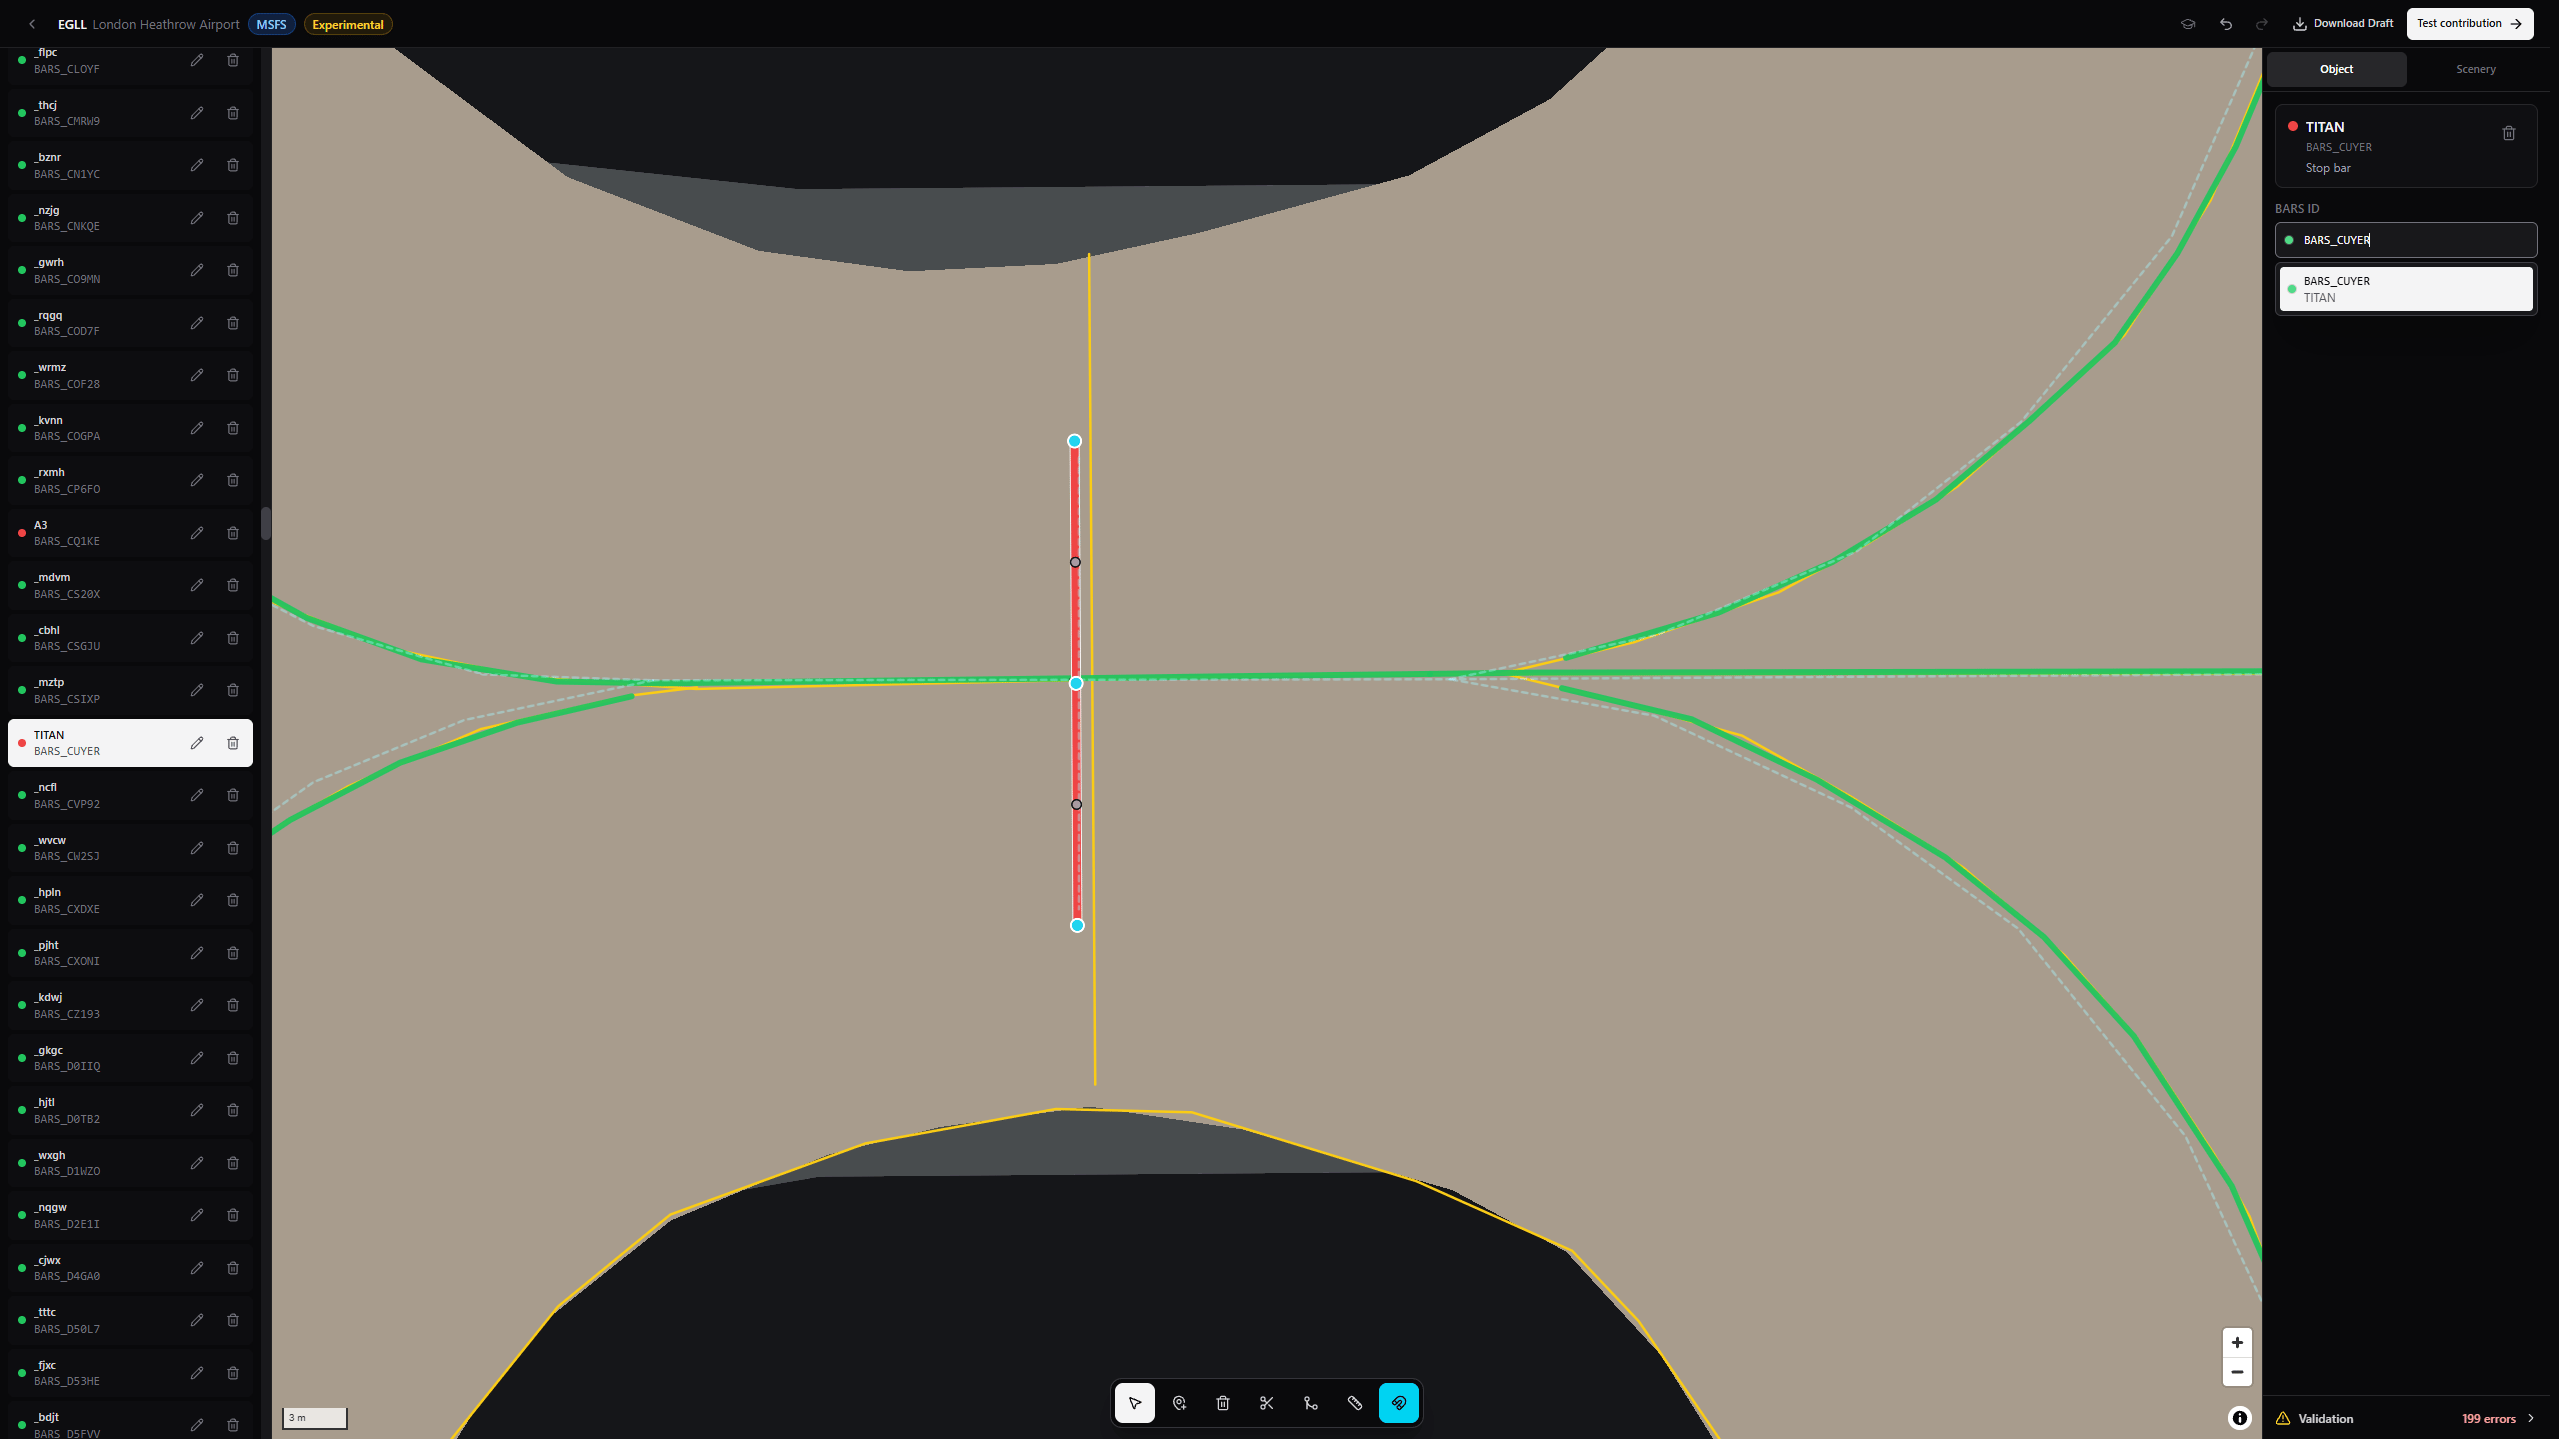
The selected object can be reshaped, assigned a BARS ID, reversed, split, joined, or deleted.
Edit Source-Light Removals
Source-light removals prevent default scenery lights from appearing beneath BARS-controlled lights. You edit a section of an existing scenery light row instead of drawing an area on the map.1
Activate Edit source light removals
Select the trash icon in the map toolbar or press
R. The editor makes the required source-light layers visible.2
Choose the action
Select Remove lights to hide the chosen section. Select Keep lights to erase an existing removal and preserve that section.
3
Select the section
Select the start and end on the same scenery light row. The two positions must be at least one metre apart.
4
Inspect the result
The editor updates the removal geometry. Use undo if the selected interval was wrong.
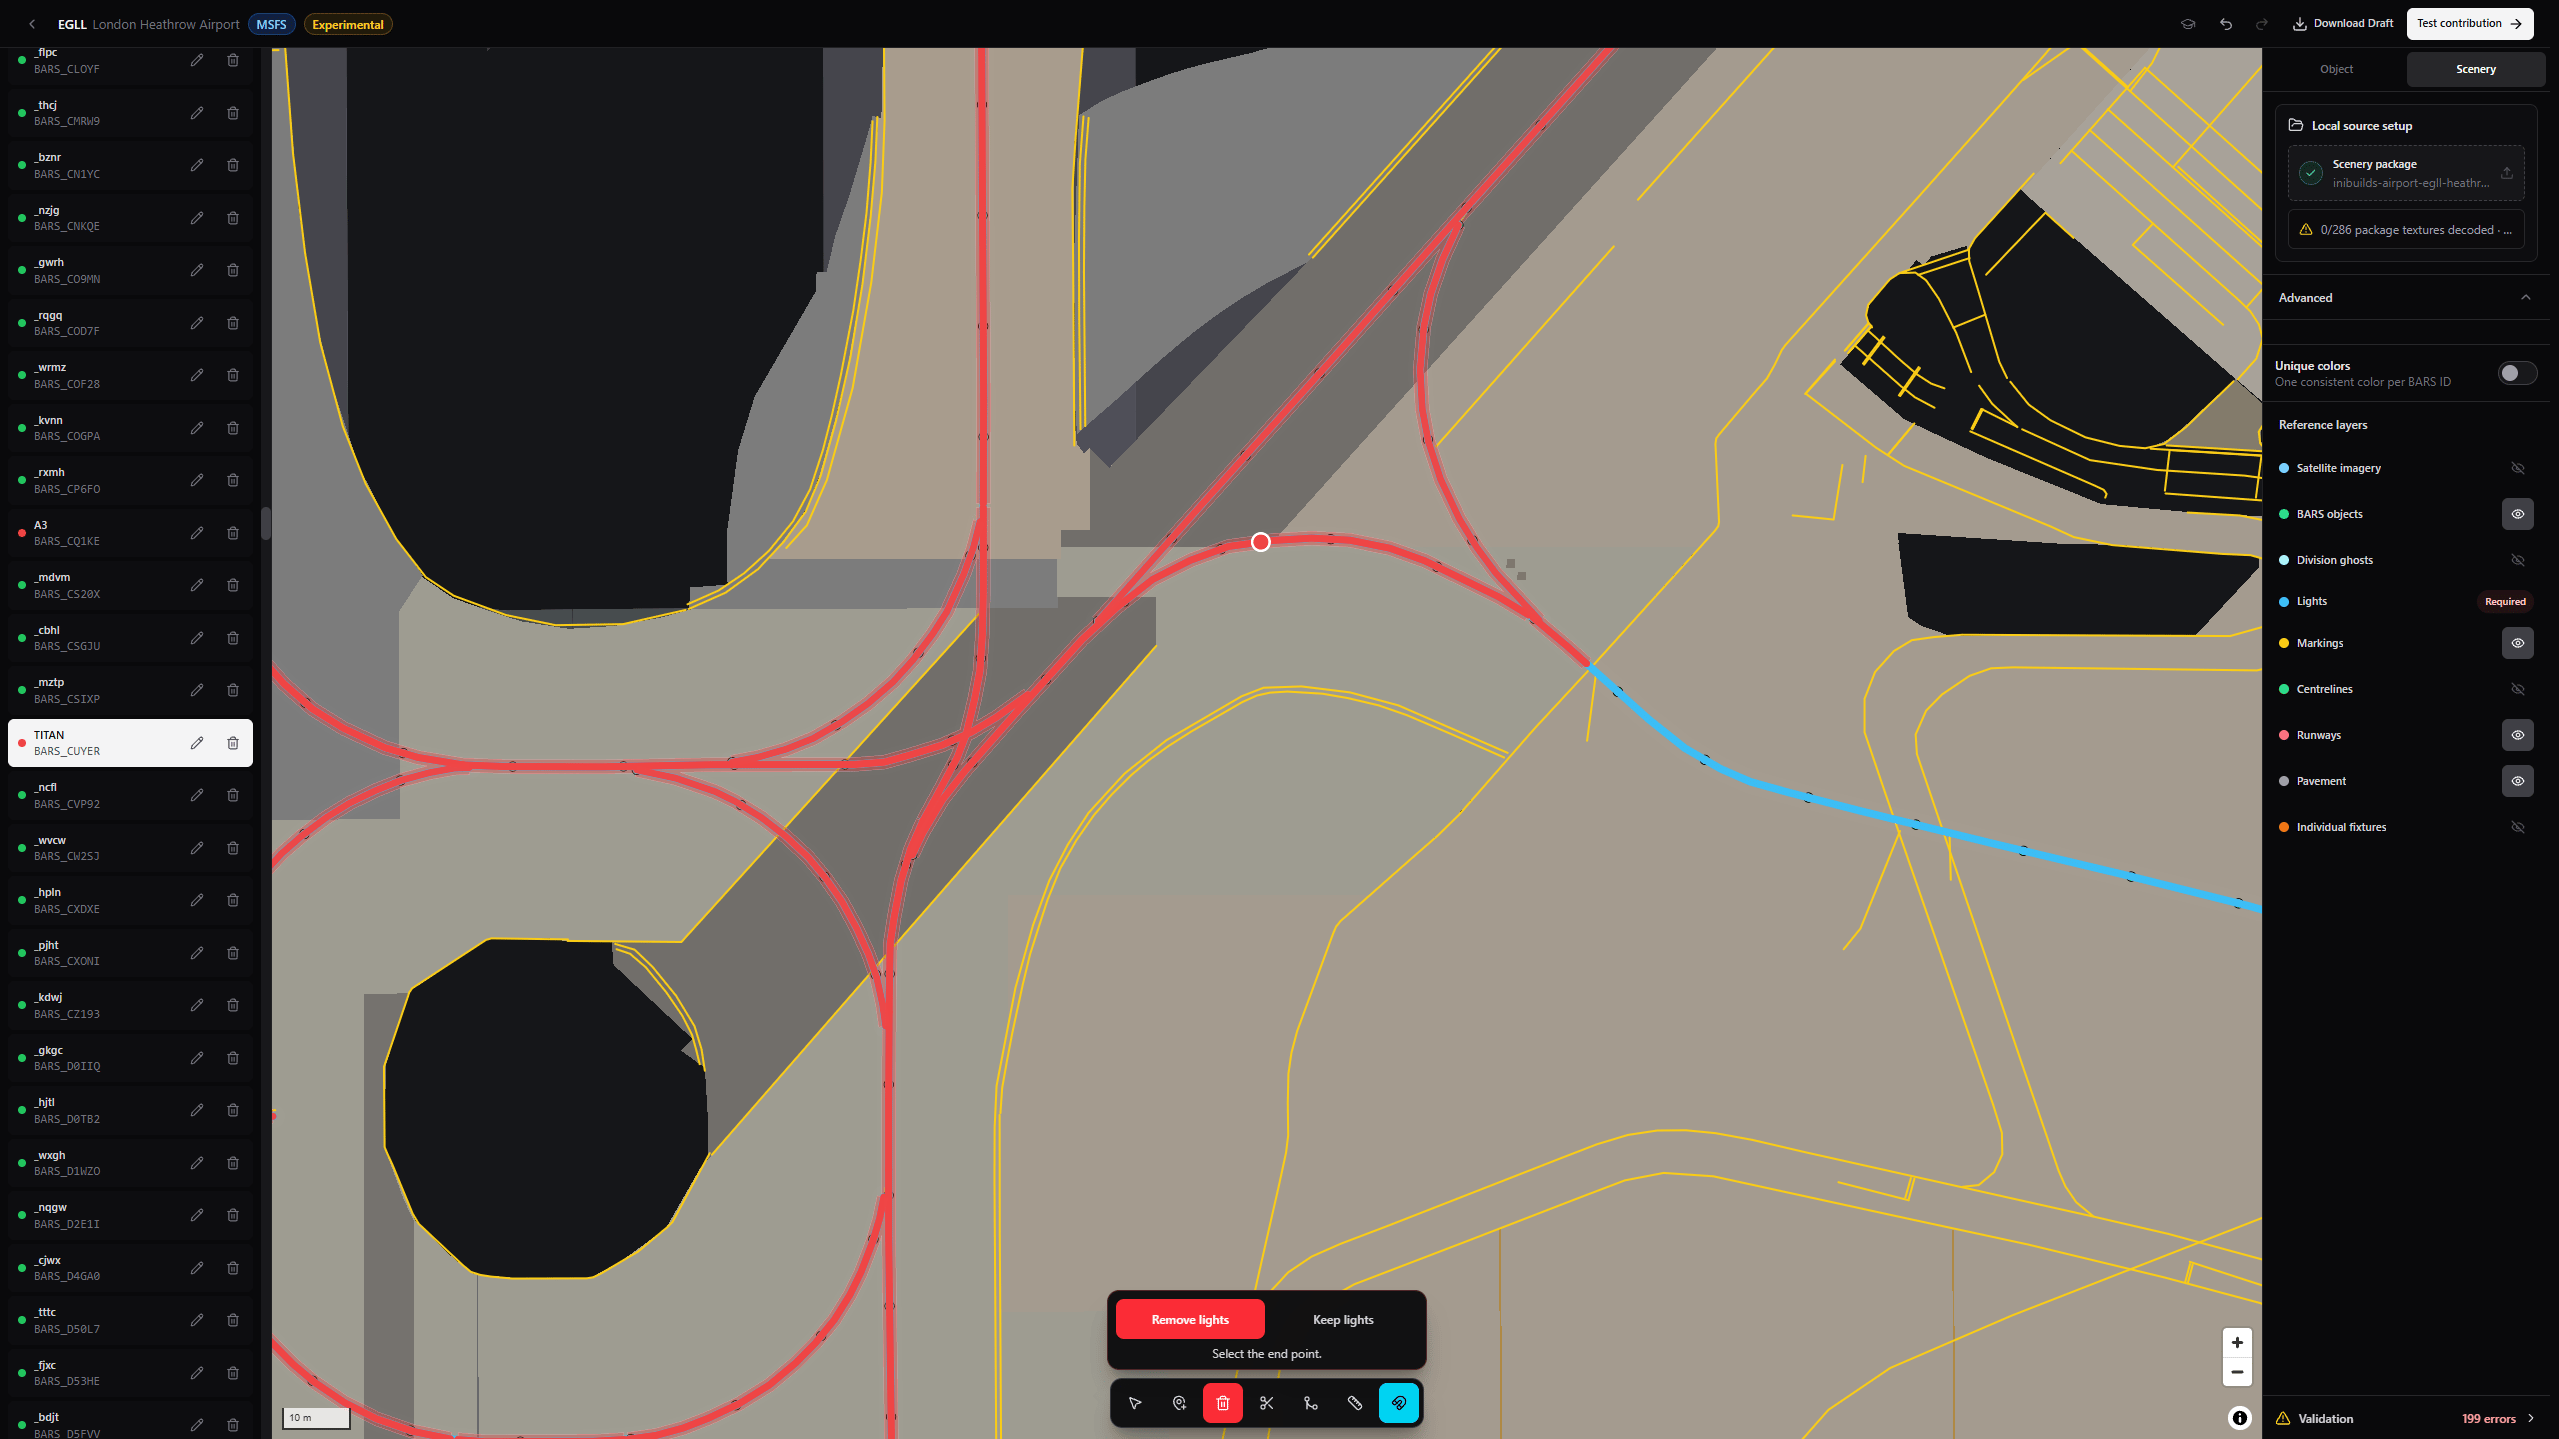
Choose Remove lights or Keep lights, then mark the start and end on one source row.
Object Panel
The Object tab appears on the right. Select an object to use these controls:Scenery Panel and Reference Layers
The Scenery tab shows the selected package and whether it loaded correctly. You can replace the package or add missing X-Plane textures from this panel. Open Advanced for display controls:
Some source categories become Required while a tool depends on them and cannot be hidden until you leave that tool.
Validation
The bottom of the right panel shows Ready to test when no issues remain. Otherwise, expand Validation to see the error and warning counts.- Errors block Test contribution.
- Warnings identify work that needs review but do not always block testing.
- Selecting an issue focuses its object or the missing division object on the map.
Keyboard Reference
Keyboard shortcuts are disabled while you are typing in a text or notes field.
Next Steps
Once you have finished editing and resolved any validation errors, test the draft in your simulator.Testing
Prepare the draft, inspect the preview, and open it in the Pilot Client.